Photo by Nathan Dumlao on Unsplash
Twitch is known for live streaming, but viewers are beginning to consume an increased amount of live-streamed content on YouTube, making it an ideal community for new live streamers.
As a content creator, you can maximize these viewers by including live-streamed content as part of your content schedule. Who knows, this might be the key to unlocking growth on YouTube?
Mobile Live Streaming on YouTube
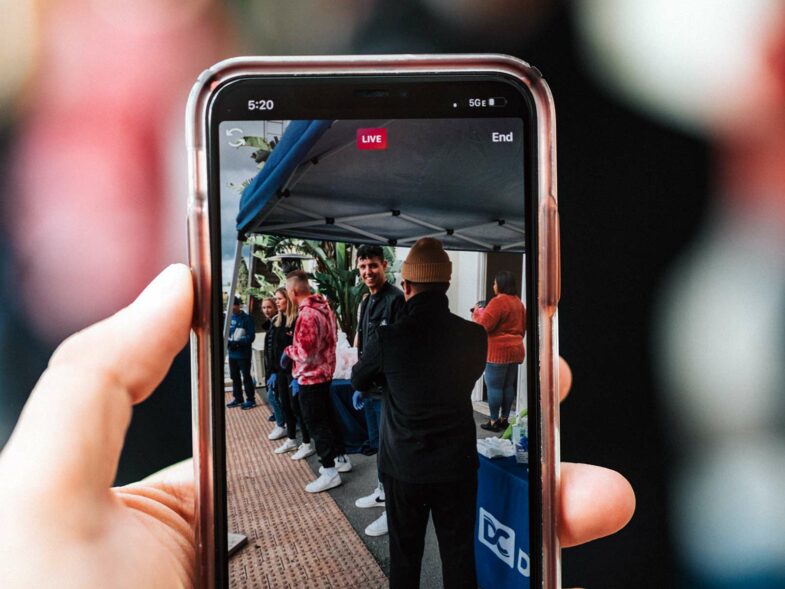
If you want to live stream on-the-go and take your audience along with you, live streaming on your phone is convenient.
But, before being allowed to live stream on mobile, you’ll need 1,000 subscribers. You’ll also need to verify your account and have completed 90 days without receiving any live streaming restrictions.
Live streaming restrictions include:
Getting a community guideline strike
A live stream that has been blocked globally
Having a live stream that matches other copyrighted content
If you meet those requirements, you can begin live streaming on mobile. Keep in mind that it can take up to 24-hours for your live stream to be enabled when you first want to create a live stream.
5 Steps To Start Live Streaming on Mobile
Step 1: Go to your YouTube app on your mobile or tablet
Step 2: At the bottom of the screen, tap Create, and then select Live. You’ll then need to follow the prompts before being able to move on.
Step 3: If you would like to schedule your live stream for later, tap More Options and then Schedule.
Step 4: You can also customize your live stream by selecting age restrictions and monetization under More Options. You can also choose to share your screen by selecting Create Channel → Share Screen.
Step 5: Once you have selected the option for your stream, you can select Go Live.
When your live stream is over, select Finish.
Webcam Live Streaming
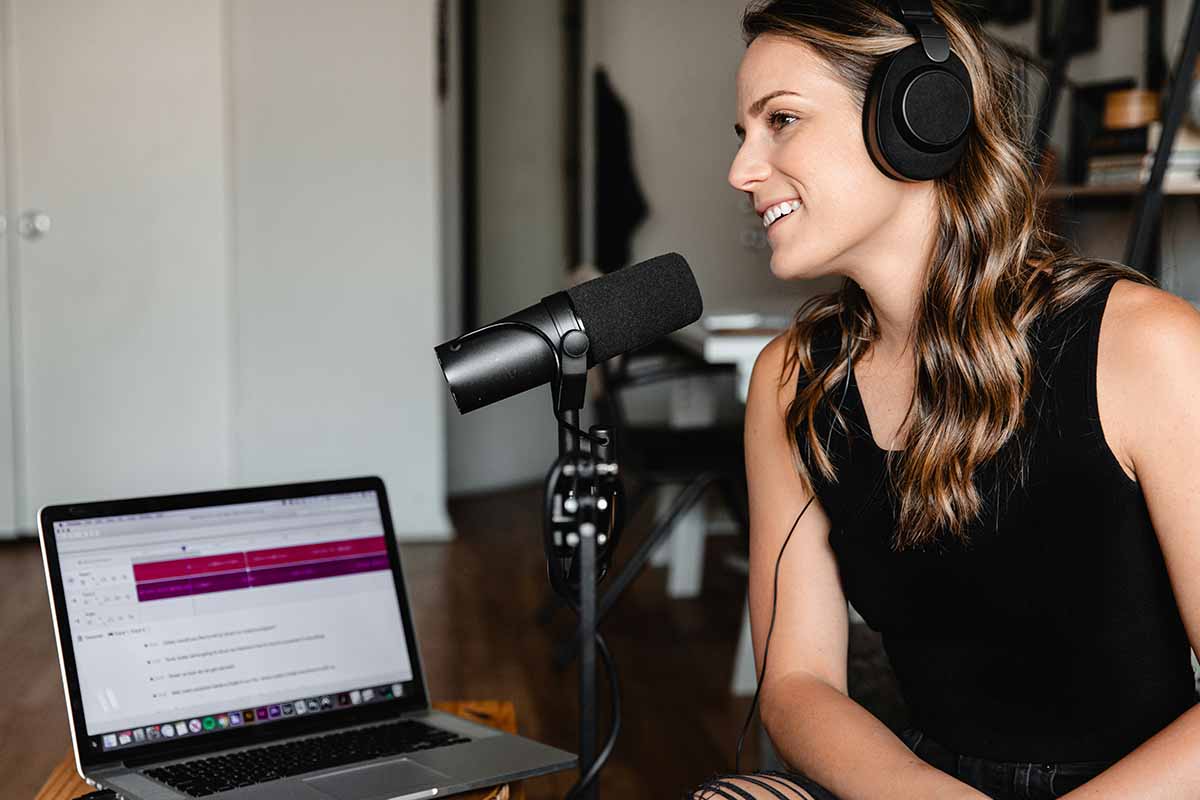
Webcam live streaming is a direct approach to create instantaneous content and connect with your audience. It doesn’t require you to have an encoder, so you’ll only be able to share content via your webcam and won’t be able to share your screen.
This is a fantastic option if you’re just chatting and don’t need an intricate setup.
To begin live streaming from your webcam, be sure you either have Firefox 53 or Chrome 60 and above. If your web browser meets these requirements, you’ll be able to live stream via webcam.
5 Steps To Live Stream on YouTube Without Software
Step 1: On the menu in the upper right corner click create → Select Go Live → and then select Webcam.
Step 2: Once you’ve selected Webcam fill in your title, description, and choose your privacy settings. You can also choose to schedule your live stream at a different time and date.
Step 3: If you choose to start your live stream immediately, select Next. Your Webcam will then take a thumbnail for your live stream.
Step 4: You can also choose to add tags, change chat, and monetization settings by clicking More Options. You can do this during or before your live stream.
Step 5: To start your live stream, click Go Live, and when you’re done select End Stream.
YouTube will then archive any live stream that’s less than 12 hours in length.
Encoder Live Streaming
If you want better production value and control over your streams, using an encoder is ideal. An encoder will help you accomplish the same level of production as your favorite Twitch streamers.
Enabling live streaming may take up to 24 hours when you first do it. So, if you’re planning on going live for the first time, be sure you’ve planned it so that you’ve enabled live streaming 24 hours before your first YouTube live stream is scheduled to begin.
3 Steps To Live Stream on YouTube Using An Encoder
Step 1: Install A YouTube Approved Encoder
To live stream on YouTube using an encoder, you’ll need to use a mobile, hardware, or software encoder that YouTube has approved.
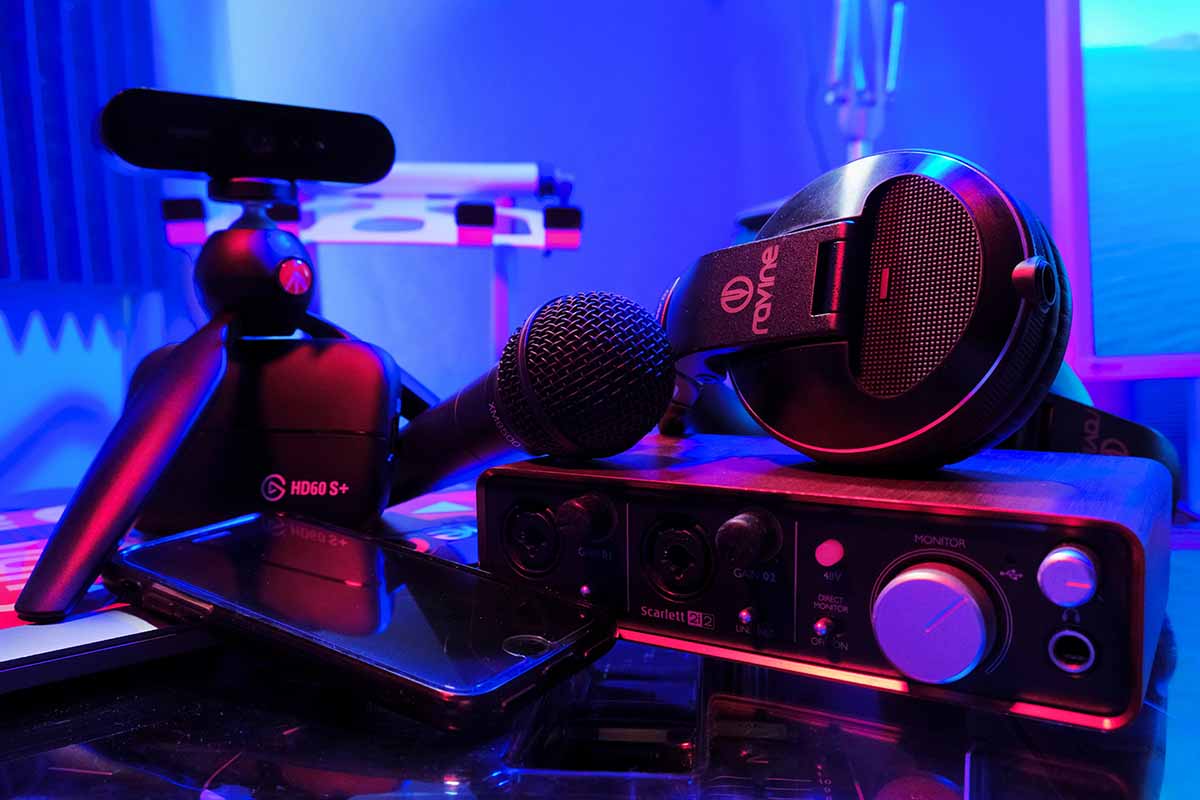
Popular options include Streamlabs OBS, Airserver, Elgato Game Capture HD60 (For streaming Xbox or PS gameplay), and Open Broadcaster Software.
Step 2: Connect Your Hardware and Encoder
Now is the time to connect your hardware – headphones, microphone, camera, and mixer (if you’re using one) – before connecting your encoder.
To begin streaming, you’ll need to copy your YouTube live server URL and YouTube stream key and paste that information in your encoder’s stream settings, also known as RTMP server.
You can find your YouTube live server URL and stream key by going to your Creator Studio, selecting Live Streaming, and scrolling down to encoder setup.
Step 3: Go Live
Once you’ve input your information into your encoder, you can begin to live stream from your encoder. YouTube will create a watch page and your stream will appear in your subscriber’s feeds. To end your stream, stop sending information to your encoder.
YouTube live streaming is changing the way subscribers and users interact with channels. It allows creators to diversify the content on their channels by creating an engaging environment where viewers feel more connected.
Therefore, as a content creator, live streaming should certainly be something you consider including in your content plan.
