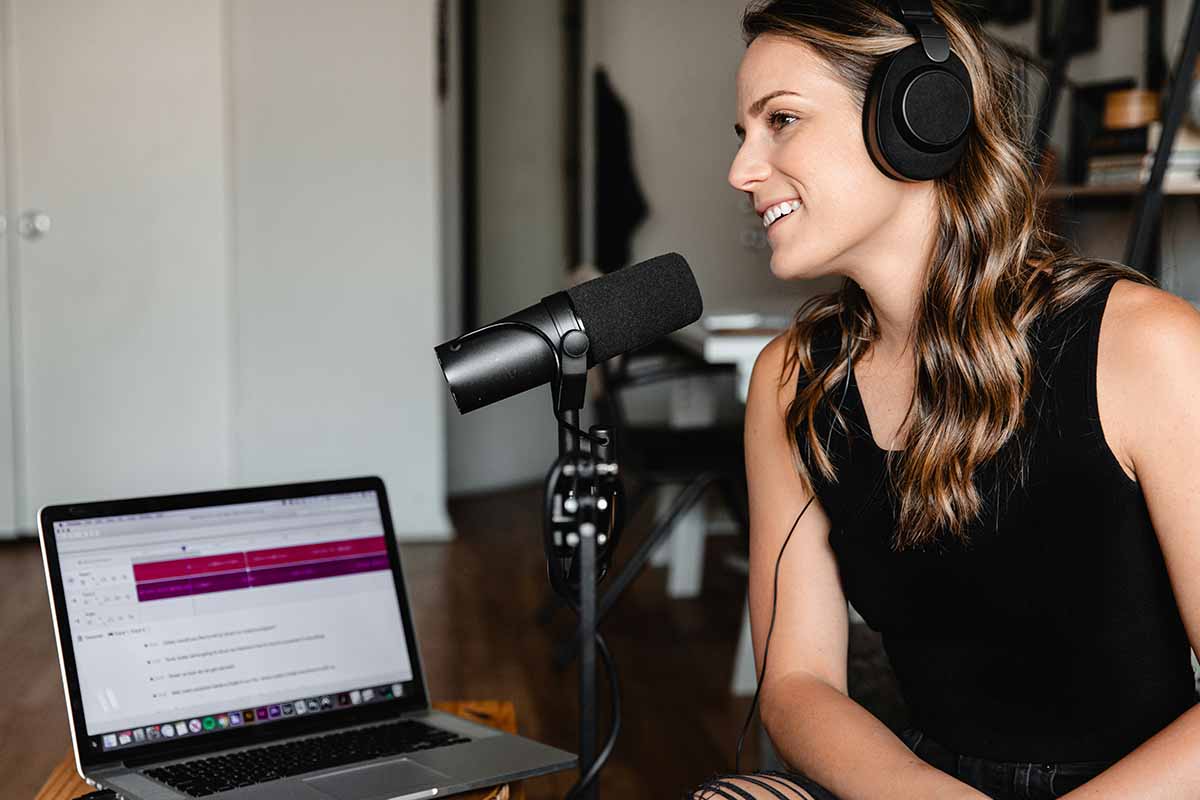
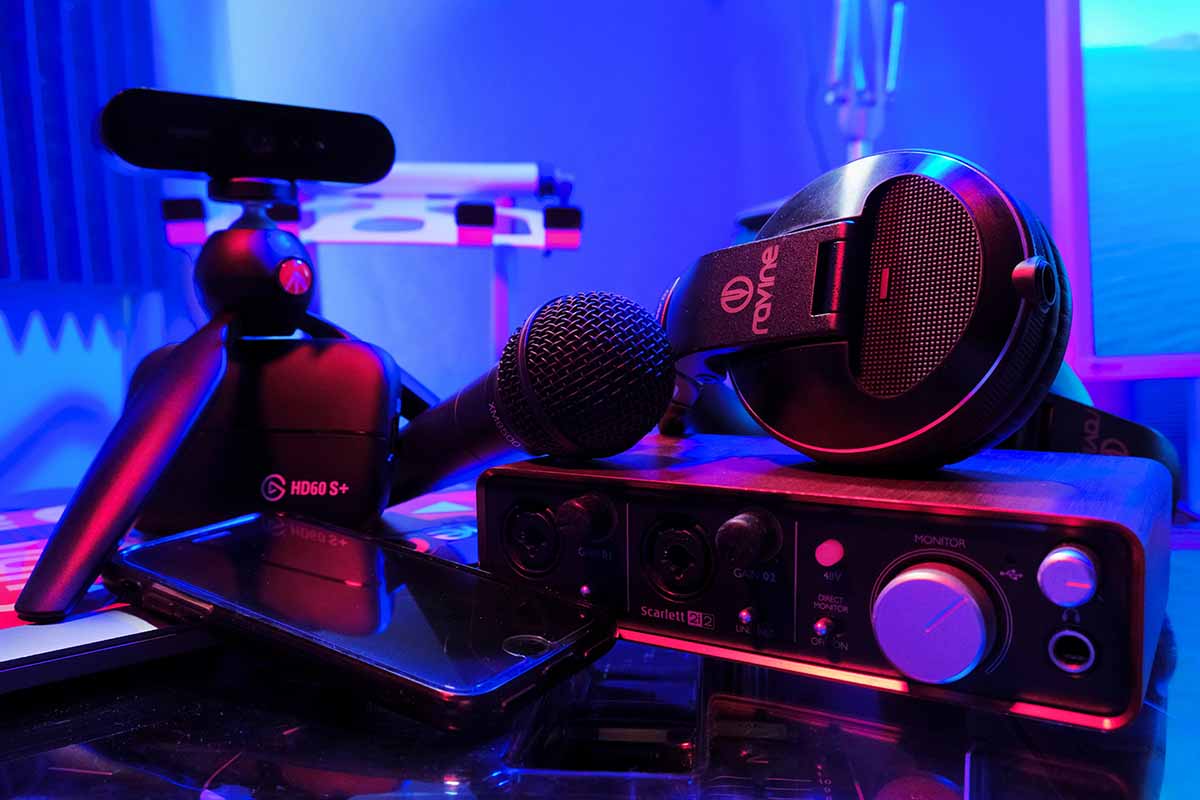
Photo by Elina Sazonova from Pexels
When you think of recording music, what is the first thing that comes to mind? Probably a recording studio.
The Cost of Recording Music In A Recording Studio
As an aspiring artist, you have two options:
Hire a professional studio to record your music, or
Learn how to record music at home, and use an at-home studio to mix and master your recordings.
On the lower end, it can cost you $40 an hour to hire a recording studio. On the higher end, that’s $500 an hour.
Most recording studios will detail how their on-site sound engineer will help you mix and master your song as a way to justify their prices. However, a song can take up to a day to record, so that $40 an hour adds up quite quickly. If you’re recording – for example, a three-track demo – you can spend three days in the recording studio for a minimum cost of $960. That’s why it helps to know how to record music at home.
Besides, with the right software, you can develop your skills as a DIY sound engineer, enabling you to hear and improve your sound as needed.
In addition to the enormous cost of recording a demo, some recording studios require you to sign over the rights to your masters. These are referred to as demo deals or development deals. You may not even know you’re signing these deals. But this sort of deal will inhibit your ability to release, or profit from, your music later on. Therefore, learning how to record music at home will enable you to break free from binding – and unscrupulous – contracts and allow you to retain as close to 100% of your royalties as possible.
For most aspiring musicians, there isn’t a need to record in a studio. You can perfect your sound and release music working with an at-home studio, similar to artists like Dayglow.
Choosing A Room To Record Music
The first step when you’re learning how to record music at home is to choose the best room for the job. If you’re using a portable setup, you can record in one part of your home and edit in another. However, when you’re searching for a room to record in, there are two elements you need to be aware of: soft and hard finishes.
Hard finishes like countertops, appliances, or windows equate to more reverb, reflections, and resonances. If you choose a room with more soft finishes, the less reverb your recorded vocals will have.
In production, reverb can severely affect your overall sound.
Reverb can pull your vocals back and make them difficult to hear. When you’re balancing the volume of a large dynamic range, you’ll use heavy processing. This heavy processing will also be applied to the reverb on a voice, and make your voice sound unnatural.
To ensure you’re not affected by reverb, find a room in your home with sufficient soft finishes like a bedroom or your lounge. And avoid areas with too many hard finishes like a kitchen or garage.
Tip: You can soften a room by adding soft furnishing and decor like rugs, couches, and noise-reducing curtains.
Equipment And Software You Need When You’re Learning How To Record Music At Home
Once you choose a room to record your music, you should begin purchasing equipment. If you’re strapped for cash, you can find used equipment on OfferUp, or even try to find musicians or podcasters who are closing shop and need to get rid of their equipment.
When you’re purchasing equipment, this is the bare necessities of what you’ll need.
DAW Software
DAW software is an absolute necessity. If you’re unfamiliar with DAW software, it’s what you’re going to use to record, edit, and produce audio files.
You can also purchase a DAW controller, which works alongside your software. It ensures you’re not developing carpal tunnel, and in some instances, can give you greater control and functionality.
Microphone
The second most important element for your setup will be a microphone. This is where you’ll record your vocals and your instruments. You want a microphone and will capture sound accurately. Some musicians swear by condenser microphones while others prefer cardioid microphones. Your preferences will depend on the sound and range of your voice.
XLR Cable
If you want a clean sound, you’ll want an XLR cable. The XLR cable attaches to your microphone on the one end and connects to your audio interface on the other. Radio broadcasters, recording studios, and live performers use them. For the difference this cable will make to your overall sound quality, it’s worth it.
Pop Filter
Plosives are a pain when you’re dealing with any audio recording, but even more when you’re recording music. No one wants to hear a sharp “b,” “p,” or even in some cases, “t” sounds. A pop filter ensures those sounds are reduced and sound like the rest of your audio recording, making them essential when you’re recording music.
Headphones
Each element of an at-home music recording studio is going to enhance the final quality of your audio file. Headphones aren’t any different. Headphones – especially when you connect them to an audio interface – will ensure you hear the true sound of your recording. Because you’re most likely not only recording but also mixing vocals, you want your ears to hear every detail clearer than the average listener would. This ensures that when you release your music in various digital or physical formats, it will retain its sound quality.
Midi Keyboard
A midi keyboard enables you to record a variety of sounds on your DAW. Your only limit is your creativity.
Additionally, you don’t need much musical experience to learn how to use a midi keyboard. But it can help you create a variety of synth sounds that are popular in today’s music.
Audio Interface
An audio interface is crucial when you’re recording vocals, instruments, or sounds and not creating music only using synth sounds.
The audio interface is the connection between your microphone, instruments, midi keyboard, DAW controller, and your PC.
The audio interface gives you greater control of your sound than you could achieve if you were recording directly to your PC and ensures you’re producing a high-quality sound.
Ear Training Software
What do the best sound engineers have in common? They’re superior listeners.
The quality of your final audio file will rely on your ear training (how well you can hear notes, melodies, and harmonies). If you want to mix and master your audio at home, learning how to listen like a pro will be essential at guaranteeing your final audio track has a superior sound.
Microphone Stand
A microphone stand isn’t essential, but it does help ensure you can maneuver your microphone to fit a variety of heights, allowing you to record your instruments and your vocals with ease. Standing while recording vocals also improves your range and voice quality.
What To Avoid When You Set Up Your At-Home Studio
When you’re setting up your home studio, there are two things you want to avoid: noise and cheapness. Of course, if you’re in a noisy neighborhood or reside with noisy roommates or family members, you can consider soundproofing your room or your studio using insulation.
Additionally, you should avoid being cheap. Skimping on studio equipment is going to impact the sound of your music. You don’t need to purchase the most expensive items, but you shouldn’t buy an item just because it’s cheap.


